
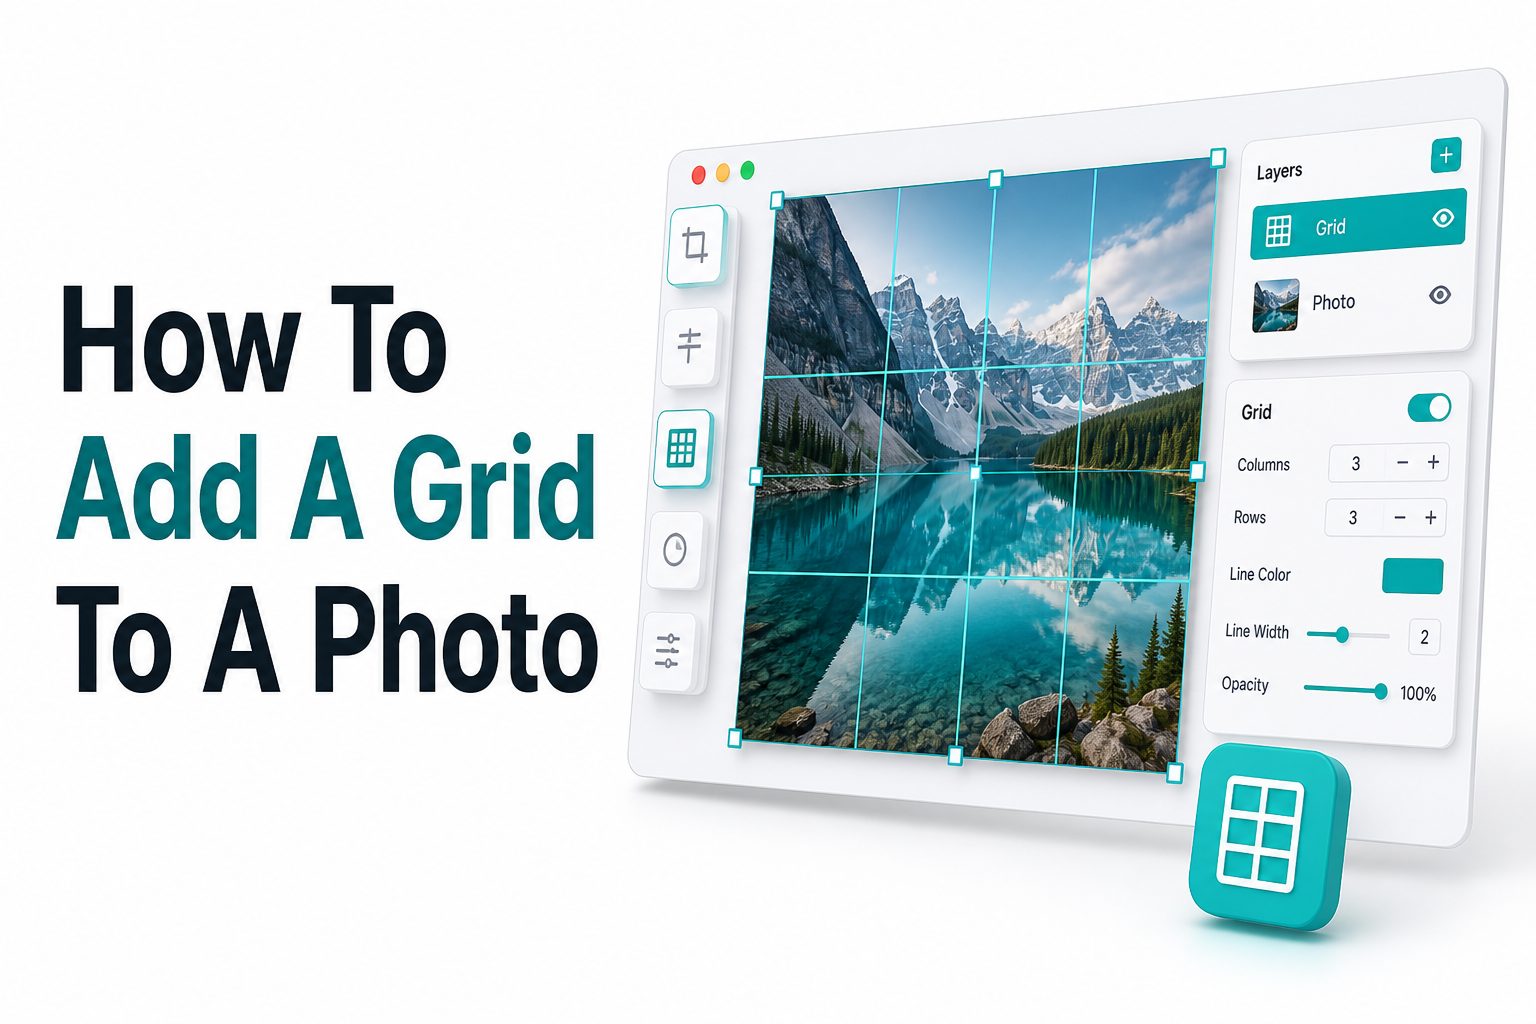
Adding a grid to an image is one of those small editing steps that can make a big difference. Whether you are sketching from a reference, planning a crop, aligning design elements, or preparing a photo for social media, a grid gives you structure and control. Many people search for how to add a grid to a photo because they want a simple way to divide an image into equal sections without damaging the original file.
The good news is that you do not need advanced design skills to do it. Most photo editors, mobile apps, online tools, and even drawing programs can place grid lines over an image in a few minutes. The best method depends on your goal. A drawing grid needs accuracy, while a social media layout grid may only need visual guidance. This article explains the practical options, when to use each one, and how to get clean results.
Why Add a Grid to a Photo
A grid helps you measure space inside a photo. It divides the image into smaller sections, making it easier to compare proportions, line up objects, and place important details. Artists often use grids to copy reference images more accurately without guessing shapes or distances.
Designers and photographers use grids for composition, cropping, and layout balance. A grid can show whether a subject is centered, whether the horizon is straight, or whether key elements fit the rule of thirds. It turns a visual decision into something easier to judge.
Common Uses for Photo Grids
One common use is drawing from a photo. By placing a grid over the reference image and matching it on paper or canvas, artists can transfer details square by square. This method is especially useful for portraits, pets, buildings, and any image with complex proportions.
Photo grids also help with social posts, collages, print layouts, and product images. If you are preparing a banner, thumbnail, poster, or Instagram layout, grid lines can guide spacing and alignment. They reduce uneven margins and help the final image look more intentional.
Best Reasons to Use a Grid
- Improve drawing accuracy from a reference photo
- Align text, objects, and design elements
- Crop images with better balance
- Apply the rule of thirds more clearly
- Create photo collages with equal spacing
- Prepare images for printing or tracing
- Check symmetry in portraits, products, and architecture
Choose the Right Grid Type
Not every grid serves the same purpose. A simple square grid is best for drawing, tracing, scaling, and measuring proportions. It divides the image evenly, so each section can be copied or enlarged with dependable spacing.
A rule of thirds grid is better for photography and composition. It divides the photo into nine equal parts with two vertical and two horizontal lines. This layout helps place subjects in stronger positions, especially for portraits, landscapes, food photos, and product shots.
Square Grid for Drawing
A square grid works well when accuracy matters. Artists often choose grids with equal rows and columns because they are easy to transfer to paper. The more squares you use, the more detail you can copy, but the process also becomes slower.
For simple sketches, a grid with five to ten divisions may be enough. For portraits or detailed illustrations, smaller squares can help capture facial features, shadows, and curves. The key is keeping the same ratio between the photo grid and your drawing surface.
Rule of Thirds Grid for Composition
A rule of thirds grid is not meant for detailed measuring. Instead, it helps guide the placement of visual elements. Placing a subject near one of the line intersections often creates a more natural and balanced composition than placing everything directly in the center.
This grid is useful before cropping or posting a photo. It can help you check whether a face, skyline, product, or focal point lands in a visually pleasing area. Many camera apps and photo editors include this grid as a built-in overlay.
Grid Type Comparison
Grid Type | Best For | Main Benefit
Square grid | Drawing, scaling, tracing | Accurate proportion control
Rule of thirds grid | Photography and cropping | Better composition
Isometric grid | Technical drawing and design | Angled structure
Column grid | Posters, layouts, web graphics | Consistent spacing
Pixel grid | Digital art and icons | Precise small-scale editing
How to Add a Grid in Online Photo Editors
Online photo editors are often the quickest option because they do not require software installation. Many browser-based tools let you upload a photo, add grid lines, adjust spacing, change line color, and download the finished image. This works well for occasional use.
Look for controls such as grid size, line thickness, opacity, rows, columns, and export quality. A good online editor should let you create a visible grid without covering important details. Always keep a copy of the original photo before saving the edited version.
Steps for Using an Online Tool
Start by uploading the image to a trusted editor. Choose a grid, overlay, or shape tool, depending on the platform. Set the number of rows and columns, then adjust the line color so it stands out clearly against the photo without becoming distracting.
After placing the grid, zoom in and check the edges. Make sure the lines cover the full image evenly. When everything looks right, export the image as a JPG or PNG. PNG is often better when you want sharper grid lines.
When Online Editors Work Best
Online editors are ideal for quick tasks, classroom use, casual drawing references, and simple design planning. They are also helpful when you are using a shared computer or do not want to install a full editing program.
They may not be the best choice for private images, very large files, or advanced print work. If image quality, privacy, or exact measurements matter, a desktop editor gives you more control over resolution, layers, and export settings.
Online Editor Checklist
- Use a trusted website before uploading personal photos
- Check whether the grid spacing can be customized
- Choose a line color that contrasts with the image
- Lower opacity if the grid hides important details
- Export at the highest available quality
- Save a separate original copy before editing
How to Add a Grid in Photoshop
Photoshop gives you strong control over grids, guides, layers, and export settings. You can use the built-in grid for editing guidance or create permanent grid lines on a separate layer. The second option is best when you need to print or share the photo with the grid visible.
To show a temporary grid, use the View menu and enable the grid overlay. You can adjust grid spacing in preferences. This helps with alignment, but the grid does not become part of the exported image unless you create visible lines manually.
Creating a Permanent Grid Layer
For a permanent grid, create a new layer above the photo. Use the line tool, shape tool, or pattern method to draw evenly spaced horizontal and vertical lines. Keep this grid on its own layer so you can change opacity or remove it later.
Choose a color that is visible but not harsh. White, black, red, or light blue often work depending on the photo. For drawing references, thin lines are usually best because they guide the eye without hiding edges, shadows, or fine details.
Photoshop Tips for Cleaner Results
Use rulers and guides to place grid lines accurately. If you need equal sections, calculate the photo width and height first, then divide by the number of columns and rows. This prevents uneven spacing at the edges.
Keep the grid layer editable until the final export. Save a layered PSD file if you may need changes later. Then export a flattened JPG or PNG for sharing, printing, or use as a drawing reference.
How to Add a Grid in Canva
Canva is useful for people who want a simple visual grid without learning advanced photo editing. It works well for social media images, worksheets, posters, and quick reference files. You can upload a photo and place line elements over it manually.
Canva also has layout grids and frames, but those are mainly for arranging multiple images. If you want grid lines on top of one photo, use line elements or table-like spacing. Locking the photo in place can make the process easier.
Using Lines in Canva
Upload your image, place it on the canvas, and resize it to the desired dimensions. Add one vertical line and duplicate it across the image. Then do the same with horizontal lines. Canva’s position tools can help keep spacing more consistent.
Group the grid lines when finished so they move together. You can also adjust transparency to make the grid softer. If the image will be used for drawing, export it as a PDF Print or PNG for better line clarity.
Best Canva Use Cases
Canva is best for presentation-ready images, classroom materials, social posts, and lightweight design tasks. It is not the strongest choice for exact technical measurement, but it is fast and easy for visual planning.
If you create many photo grids, make a reusable Canva template. Keep a blank grid layer and replace the photo when needed. This saves time and helps keep your grids consistent across different images or projects.
Quick Canva Tips
- Lock the photo before adding grid lines
- Use duplicate lines for consistent styling
- Adjust transparency for a softer overlay
- Group grid lines after arranging them
- Export as PNG for sharp digital use
- Use PDF Print when preparing worksheets
How to Add a Grid on iPhone
The iPhone Photos app does not provide a built-in permanent grid overlay for saved images, but you still have several options. You can use editing apps, drawing apps, or design apps to place a grid over a photo and export it.
Apps such as Procreate, Canva, Lightroom, and drawing grid tools can handle this task. Some apps show grids only while editing, while others let you export the image with the grid visible. Check this before spending time adjusting your photo.
Using Drawing and Design Apps
In a drawing app, import your photo as a canvas layer. Then enable the drawing guide or create a grid layer above the photo. Lower the opacity if needed, and export the final image when the grid looks clear.
Design apps work differently. You usually add line elements or use a grid template over the photo. This is simple for social media and planning, but may require manual spacing if the app does not support exact rows and columns.
Tips for Mobile Accuracy
Use a larger screen if possible, especially for detailed work. Small screens make it harder to place grid lines precisely. Zoom in to check edges and corners before exporting the image.
If you need to print the grid later, avoid screenshots. Screenshots can reduce image quality and may crop the canvas. Export directly from the app using the highest quality option available.
Mobile App Selection Guide
Need | Recommended App Type
Drawing reference | Drawing grid or sketching app
Social media layout | Canva or similar design app
Photo composition | Lightroom or camera editor
Classroom worksheet | Design or PDF-friendly app
Digital painting | Procreate or equivalent drawing app
How to Add a Grid on Android
Android users also have several practical options. Many free and paid apps are made specifically for adding drawing grids to photos. These apps usually let you choose rows, columns, line color, thickness, and sometimes numbered squares.
For general editing, design apps and photo editors can add manual grid lines. If you need a fast drawing reference, a dedicated grid maker is usually easier. If you need branded graphics or social content, a design app may be better.
Using Dedicated Grid Apps
Dedicated grid apps are built for this exact task. Upload your photo, select the grid size, adjust the color, and save the image. Some apps also let you crop, rotate, or resize the photo before adding the overlay.
These tools are especially helpful for artists because they reduce setup time. Many also support diagonal lines, labels, or custom spacing. Before choosing one, check export quality and whether the free version adds watermarks.
Working With General Photo Editors
General photo editors can work well if they support layers, shapes, or overlays. Add vertical and horizontal lines, duplicate them evenly, and adjust their appearance. This gives you flexibility, but it can take longer than using a dedicated app.
For repeat use, save a grid template inside the editor if possible. You can then place new photos underneath the same grid. This is useful for art practice, product images, and consistent social media formatting.
How to Add a Grid for Drawing
When adding a grid for drawing, accuracy matters more than decoration. Start with a clean, high-resolution photo where the subject is easy to see. Crop the image first, because changing the crop after placing the grid can throw off your proportions.
Decide how detailed the drawing needs to be. A simple object might only need large squares, while a portrait usually benefits from smaller squares. The goal is to give yourself enough reference points without making the image visually crowded.
Matching the Grid to Paper
If your photo has a grid with ten columns and eight rows, your paper should use the same number of columns and rows. The squares can be larger or smaller, but the count and proportions should match.
Use a ruler and light pencil lines on paper. Numbering the rows and columns can help you stay oriented. Work one square at a time, focusing on where lines enter and leave each section instead of trying to draw the whole image at once.
Scaling a Photo With a Grid
A grid is also useful when enlarging a drawing. For example, a small reference photo can be transferred to a large canvas by drawing a larger version of the same grid. Each square on the canvas represents the matching square on the photo.
Keep the aspect ratio consistent. If the original grid uses rectangles instead of squares, your drawing grid must match that shape. Otherwise, the final drawing may look stretched, compressed, or slightly distorted.
Drawing Grid Setup List
- Crop the photo before adding the grid
- Choose a grid size that fits the detail level
- Use thin, visible lines
- Keep the same row and column count on paper
- Number rows and columns for easier tracking
- Draw lightly so pencil grid lines can be erased
- Work square by square for better accuracy
How to Add a Grid for Cropping and Composition
For cropping, a grid helps you decide what stays in the frame. It can show empty space, crowded edges, and awkward subject placement. This is especially useful when preparing profile images, thumbnails, product shots, or landscape photos.
Composition grids work best when they stay temporary. You usually do not want visible lines in the final image. Instead, use the grid while editing, make the crop, then export the clean photo without the overlay.
Using the Rule of Thirds
The rule of thirds is a simple way to improve many photos. Place important subjects along the grid lines or near their intersections. A person’s eyes, a product label, or a horizon line often looks better slightly off center.
This is not a strict rule. Centered compositions can work beautifully, especially for symmetry, portraits, and product images. The grid simply gives you a reliable way to test different crops before choosing the strongest one.
Checking Balance and Negative Space
A grid can reveal whether one side of the photo feels too heavy. If all visual weight sits in one corner, the image may feel unbalanced unless that effect is intentional. Grid lines make this easier to spot.
Negative space also becomes easier to manage. For text overlays, ads, or banners, you may need clean space on one side of the image. A grid helps reserve that area while keeping the main subject positioned well.
How to Add a Grid for Social Media Layouts
Social media graphics often need careful spacing. A grid can help align text, logos, products, and call-to-action elements without making the design feel crowded. It is especially useful for thumbnails, carousel posts, pins, and profile banners.
Different platforms crop images in different ways, so grid planning can prevent important details from being cut off. Keep faces, text, and logos away from extreme edges. A grid makes those safe areas easier to judge.
Planning Instagram and Carousel Posts
For Instagram posts, a grid can help you keep text margins even and align repeated design elements. In carousel posts, consistent placement matters because viewers swipe through multiple slides quickly. Uneven spacing can make the set feel less polished.
If you are splitting one large image across multiple posts, use a layout grid carefully. Make sure each section still works on its own. This is helpful for profile mosaics, product reveals, and visual campaigns.
Designing Thumbnails and Covers
Thumbnails need quick readability. Grid lines help place the subject, headline, and supporting elements where they can be seen at small sizes. Keep the main subject large and avoid placing tiny text in busy areas.
For YouTube thumbnails, blog covers, and pins, use a grid to create strong hierarchy. The subject should be obvious first, then the text. A clean grid supports that order without making the design feel stiff.
Social Media Grid Tips
- Keep important text away from crop zones
- Use consistent margins across carousel slides
- Align logos and labels to the same grid position
- Test thumbnails at small sizes before publishing
- Leave open space for captions or headlines
- Avoid placing key details near platform UI overlays
How to Print a Photo With a Grid
Printing a gridded photo is useful for drawing, classroom projects, craft patterns, and transfer work. The main concern is keeping the grid visible and evenly scaled. Use a high-resolution image and export it in a print-friendly format.
Before printing, check the paper size and orientation. If the image is resized automatically, the grid may still look fine, but measurements may no longer match your intended scale. Use print preview to confirm the layout.
Best File Formats for Printing
PDF is often the safest format for worksheets and reference sheets because it preserves layout well. PNG is also a good option when sharp grid lines matter. JPG works, but compression can slightly soften thin lines.
If you are printing a large reference, use the highest resolution available. Low-resolution photos can become blurry, making grid squares harder to use. This matters most for portraits, architecture, and detailed illustrations.
Printer Settings That Matter
Choose actual size or a clear scaling percentage when measurements matter. Fit-to-page settings can change the size of the image, which may affect your drawing transfer. If precision is important, print a test page first.
Use normal or high-quality print settings for clearer grid lines. Very light gray lines may disappear on some printers, while thick black lines can overpower the image. A medium gray, blue, or red line often prints well.
Common Mistakes to Avoid
One mistake is adding grid lines that are too thick. Heavy lines can hide important details, especially around eyes, hair, textures, and product edges. Thin lines usually work better because they guide without taking over the image.
Another problem is changing the image after the grid is added. Cropping, stretching, or resizing can make the grid uneven or misleading. Always crop and straighten first, then add the grid as one of the final steps.
Using the Wrong Grid Size
A grid with too few squares may not give enough guidance. A grid with too many squares can make the photo hard to read. The right size depends on the level of detail and your purpose.
For drawing, start with moderate spacing and adjust from there. For composition, use simpler grids like thirds or quarters. For design work, use spacing that matches your layout needs rather than forcing a drawing-style grid.
Forgetting the Original Photo
Always keep an untouched original. Once grid lines are flattened into the image, they can be difficult to remove cleanly. Saving a separate copy protects your source file and gives you flexibility if you need a different grid later.
If your editor supports layers, keep the grid on its own layer. This lets you change line color, opacity, or spacing without starting over. It also makes it easy to export both gridded and clean versions.
Mistake Prevention Checklist
- Crop and straighten before adding the grid
- Keep line thickness modest
- Save the original image separately
- Use layers whenever possible
- Match grid proportions to your final use
- Check print preview before printing
- Avoid screenshots when quality matters
Best Tools for Adding a Grid
The best tool depends on how often you need photo grids and how precise they must be. For occasional use, an online editor or mobile app is enough. For professional editing or printing, Photoshop, Affinity Photo, or similar software gives better control.
Artists may prefer dedicated drawing grid apps because they are fast and purpose-built. Designers may prefer Canva or Figma for layout planning. Photographers often need only the temporary grid overlays already built into editing software.
Free Tool Options
Free tools can handle most basic grid needs. Browser editors, mobile grid apps, Canva’s free plan, and built-in camera grids can all help. These are good choices for casual users, students, hobby artists, and quick layout checks.
The tradeoff is usually control. Free tools may limit export resolution, add watermarks, or offer fewer spacing options. If you need clean printable files, check those limits before building a full project around one tool.
Paid Tool Options
Paid tools are worth considering if you work with grids regularly. Photoshop, Affinity Photo, Procreate, and professional design software let you control layers, resolution, guides, color, opacity, and export settings more precisely.
They also reduce repetitive work. You can create templates, save presets, and reuse grid layers across projects. If grids are part of your drawing, teaching, or content workflow, that saved time can matter more than the software cost.
Helpful Internal Resources
For better image editing results, see [Internal Link: Photo Editing Tips] for practical ways to crop, resize, and prepare images before adding overlays.
If you are creating images for posts or banners, [Internal Link: Social Media Image Sizes] can help you choose the right dimensions before placing your grid.
Conclusion
Adding a grid to a photo is a practical way to improve accuracy, layout, and visual balance. Artists can use grids to transfer drawings more reliably, photographers can refine crops, and content creators can align design elements with better spacing. The right method depends on whether you need a temporary guide, a printable reference, or a finished image with visible grid lines.
For quick tasks, online editors and mobile apps work well. For detailed drawing, print work, or professional design, layered editing software gives better control. Start by cropping the image, choose the grid style that fits your purpose, keep the original file safe, and export in a format that matches your final use. Once you know how to add a grid to a photo, the process becomes a simple habit that can improve many creative and practical projects.
FAQ
Can I add a grid to a photo for free?
Yes, many online editors and mobile apps let you add a grid for free. Check whether the tool allows high-quality exports and whether it adds a watermark before using it for print or client work.
What grid size is best for drawing?
A medium grid is usually best for drawing. Ten to fifteen columns often gives enough detail without becoming confusing. For portraits or complex subjects, smaller squares can help you place features more accurately.
Can I remove a grid after saving the photo?
If the grid was saved directly onto the image, removing it cleanly is difficult. Use layers whenever possible and keep an original copy. That way, you can export both gridded and clean versions.
Is a rule of thirds grid the same as a drawing grid?
No, they serve different purposes. A rule of thirds grid helps with composition and cropping. A drawing grid uses many equal sections to help copy proportions, shapes, and details more accurately.
What file format should I use for a gridded photo?
Use PNG for sharp digital grid lines and PDF for printable worksheets or references. JPG is fine for casual use, but compression can soften thin lines, especially when the image is printed.
0 Comments